Why Cricut is Perfect for Custom T-Shirt Projects
Creating custom t-shirts with your Cricut machine offers numerous benefits:
- Personalization: Express your unique style or create perfect gifts.
- Cost-Effective: Save money compared to buying custom-printed shirts.
- Flexibility: Make one-off designs or small batches easily.
- Quality Control: Ensure high-quality results by controlling the entire process.
- Fun and Rewarding: Enjoy a creative outlet that produces wearable results.
Want an example? Imagine making matching t-shirts for your family reunion or designing a shirt with your favorite quote to wear proudly.
Whether you’re making shirts for yourself, as gifts, or for a small business, your Cricut machine opens up a world of possibilities.
Essential Materials and Tools
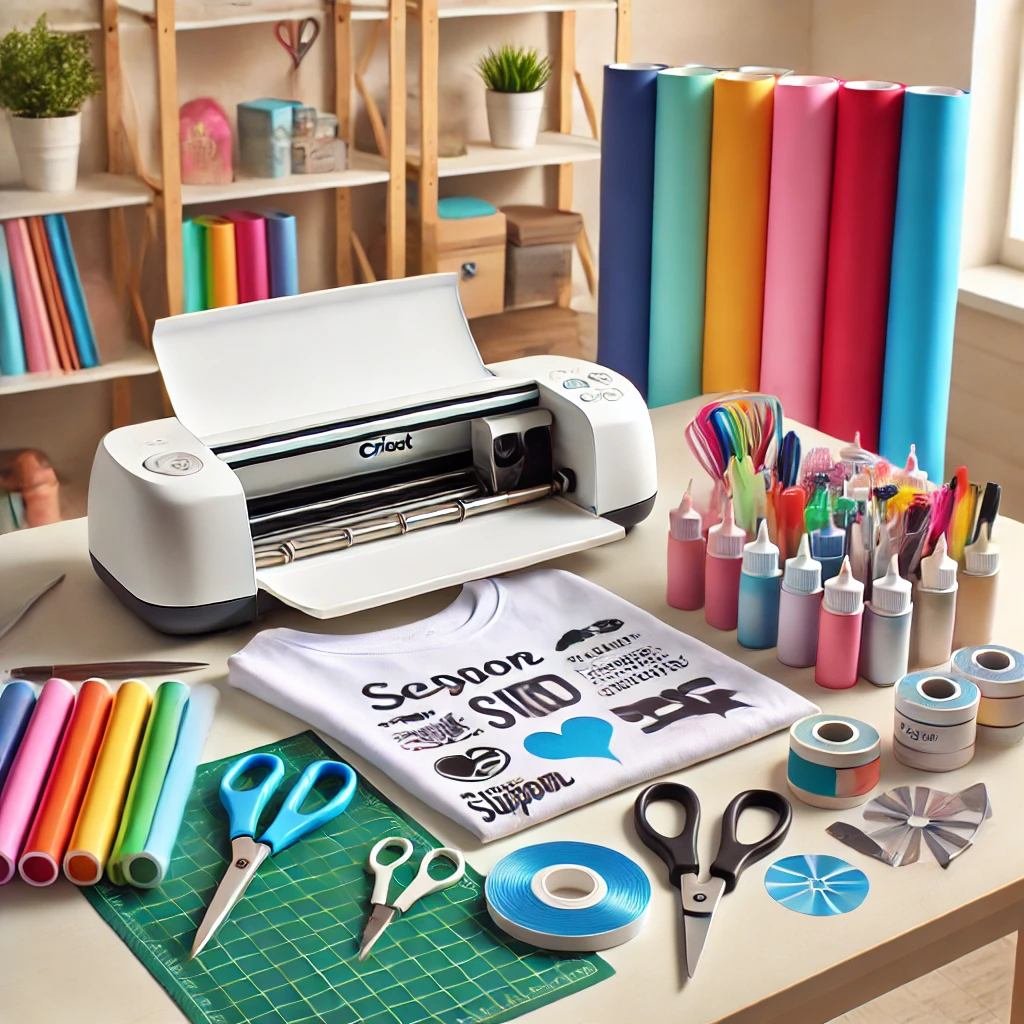
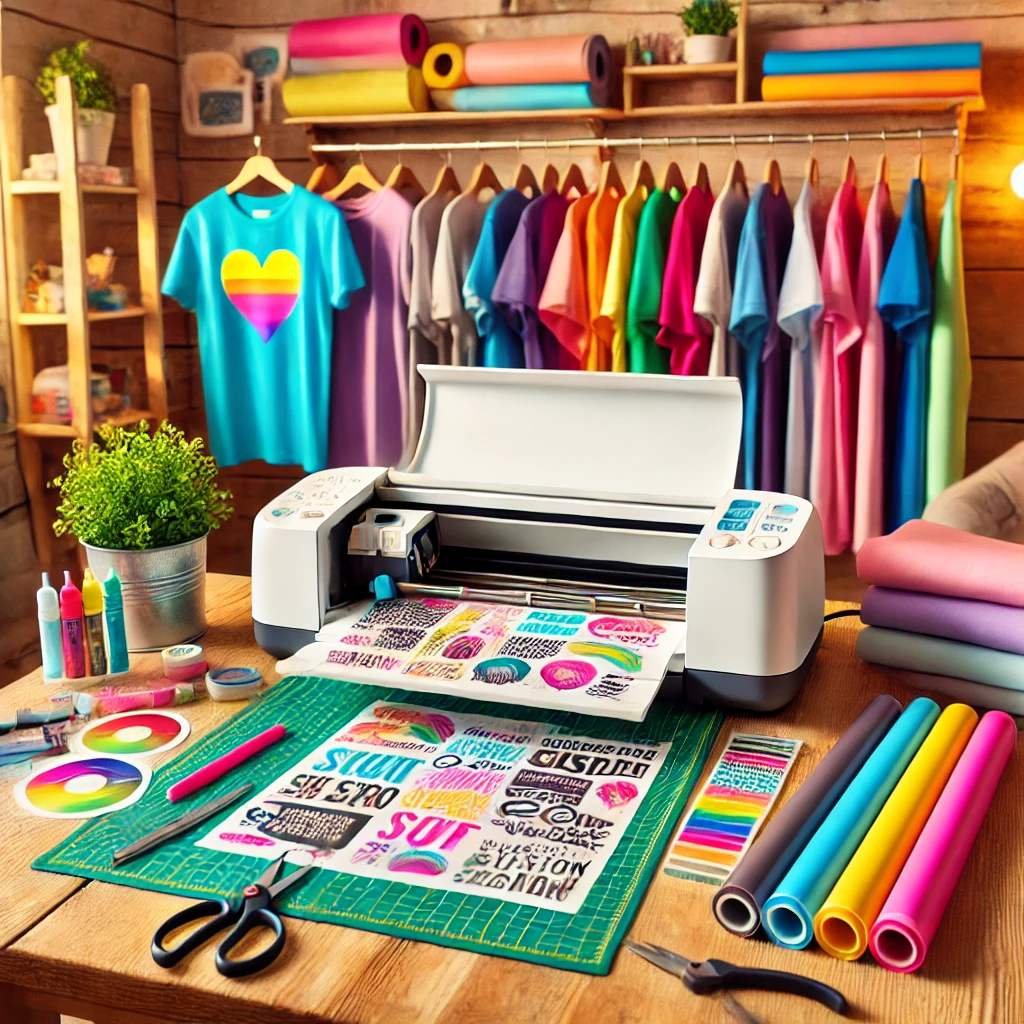
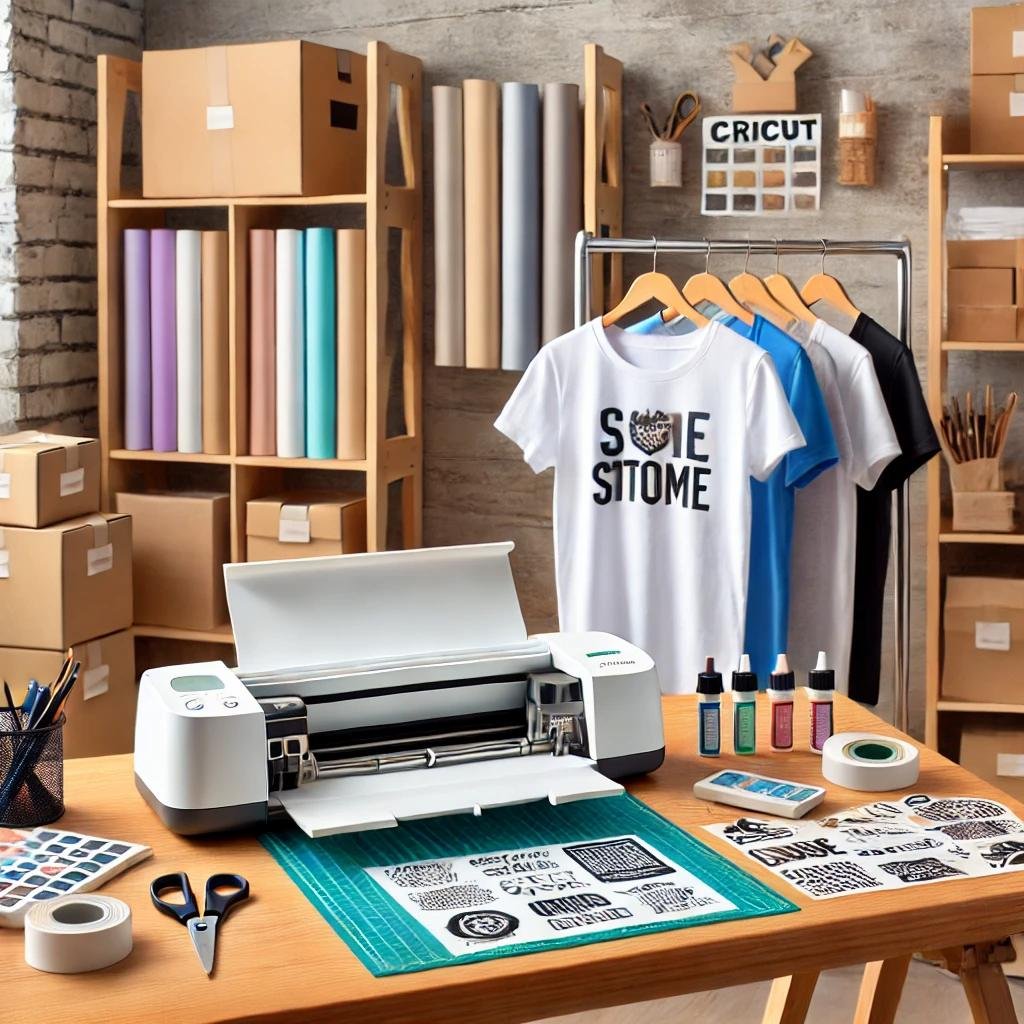
To get started with custom t-shirt creation, you’ll need:

- Cricut Machine: Any model will work, but the Maker and Explore series are particularly well-suited for t-shirt projects.
- Heat Transfer Vinyl (HTV): The star of the show for t-shirt designs.
- T-Shirts: Choose high-quality, pre-washed shirts for best results.
- Cricut EasyPress or Iron: For applying the vinyl to your shirt.
- Weeding Tools: To remove excess vinyl from your design.
- Teflon Sheet or Parchment Paper: To protect your design during heat application.
- Cricut Design Space Software: For creating and editing your designs.
- Scissors or Rotary Cutter: For trimming vinyl sheets.
- Lint Roller: To prepare your t-shirt surface.
Helpful tip: Pre-washed t-shirts ensure your design adheres better and avoids shrinkage after the first wash.
Types of Vinyl for T-Shirt Projects
Not all vinyl is created equal. Here are the main types you’ll encounter for t-shirt projects:
- Standard HTV: The most common type, suitable for most projects.
- Glitter HTV: Adds sparkle to your designs.
- Holographic HTV: Creates eye-catching, color-changing effects.
- Flocked HTV: Gives a velvet-like texture to your designs.
- Stretch HTV: Ideal for athletic wear or stretchy fabrics.
- Patterned HTV: Comes in various pre-printed patterns for added interest.
- Glow-in-the-Dark HTV: Perfect for fun, nighttime-visible designs.
Pro tip: Always refer to the manufacturer’s instructions for application settings to achieve the best results.
Preparing Your Design
Before cutting, you need to create or prepare your design:
- Choose Your Design: Create your own or use pre-made designs from Cricut Design Space.
- Size Your Design: Ensure it fits your t-shirt appropriately.
- Mirror Your Image: This is crucial for HTV projects. In Cricut Design Space, don’t forget to mirror your design before cutting.
- Consider Layering: If using multiple colors, plan how they will layer.
- Test Your Design: If possible, do a test cut on scrap vinyl before using your good materials.
Avoid frustration: A test cut can save you from wasting materials on incorrect settings.
Step-by-Step Guide to Making a Custom T-Shirt
Now, let’s walk through the process of creating a custom t-shirt:
Prepare Your Workspace:
- Clean your work area.
- Preheat your Cricut EasyPress or iron according to the vinyl manufacturer’s instructions.
Prepare Your T-Shirt:
- Wash and dry your t-shirt to remove any sizing or oils.
- Iron the shirt to remove wrinkles.
- Use a lint roller to ensure a clean surface.
Cut Your Design:
- Load your HTV into your Cricut machine, shiny side down.
- In Cricut Design Space, select your material type and ensure your design is mirrored.
- Send your design to cut.
Weed Your Design:
- Once cut, remove the excess vinyl around your design using weeding tools.
- Take care with intricate designs to ensure all unnecessary pieces are removed.
Position Your Design:
- Place your t-shirt on a flat, heat-resistant surface.
- Position your weeded design on the shirt, carrier sheet side up.
Apply Heat:
- Place a Teflon sheet or parchment paper over your design.
- Apply heat with your EasyPress or iron according to the vinyl manufacturer’s instructions.
- Pay attention to both temperature and duration for best results.
Cool and Peel:
- Allow the design to cool slightly (warm peel) or completely (cold peel), depending on the vinyl type.
- Carefully peel off the carrier sheet.
Final Press:
- For added durability, cover the design with your Teflon sheet or parchment paper and press again briefly.
Congrats! You’ve just created a unique t-shirt with your Cricut machine. Don’t forget to show it off!
Advanced Techniques and Tips
Once you’ve mastered the basics, try these advanced techniques:

- Layering Vinyl: Create multi-color designs by layering different vinyl colors.
- Combining Vinyl Types: Mix and match different vinyl types for unique effects.
- Working with Metallic and Glitter HTV: Use a bright light to help see the cut lines.
- Creating Distressed Looks: Use textured HTV or apply your design with slight imperfections for a vintage feel.
- Incorporating Fabric Markers or Paint: Combine vinyl designs with hand-drawn or painted elements for truly unique shirts.
Experimentation is key: Don’t be afraid to try new materials or techniques.
Troubleshooting Common Issues
Even experienced crafters encounter issues. Here are some common problems and solutions:
- Vinyl Not Sticking: Ensure your heat press is at the correct temperature and use enough pressure.
- Designs Peeling After Washing: Pre-wash shirts and wait 24 hours before washing a newly pressed shirt.
- Scorching or Melting: Double-check temperature settings and use a protective sheet.
- Difficult Weeding: Adjust cut settings and use a bright light to see cut lines.
Did you know? Cricut’s “More” pressure setting can help with intricate designs.
Caring for Your Custom T-Shirts
To ensure your custom t-shirts last as long as possible:
- Washing: Turn the shirt inside out and wash in cold water.
- Drying: Tumble dry on low heat or air dry.
- Ironing: If needed, iron inside out and avoid direct heat on the vinyl design.
A little care goes a long way to keep your creations looking fresh!
Inspiration and Project Ideas
The possibilities for custom t-shirts are endless. Here are some ideas to get you started:
- Family Reunion Shirts
- Sports Team Apparel
- Holiday-Themed Shirts
- Inspirational Quotes
- Personalized Gifts
- Small Business Branding
- Costume Elements
- School Spirit Wear
Got an idea? Turn it into reality with your Cricut!
Turning Your Hobby into a Business
If you’re considering turning your t-shirt making hobby into a business:

- Research Your Market: Identify your target audience.
- Price Your Products: Factor in materials, time, and profit margin.
- Create a Brand: Develop a unique style or niche.
- Set Up an Online Store: Use platforms like Etsy, Shopify, or your own website.
- Promote Your Business: Leverage social media and local events.
- Stay Legal: Ensure you have the right to use any designs or fonts in commercial products.
Success tip: Engage with your audience on social media by sharing behind-the-scenes photos and videos.
Creating custom t-shirts with your Cricut machine is not just a project—it’s a journey into unleashing your creativity and making your ideas tangible. Whether you’re crafting a gift, designing something personal, or launching your own business, this process is filled with opportunities for expression and fulfillment. With practice and imagination, you’ll soon master the art of creating professional-quality t-shirts that truly stand out. So, embrace the joy of experimenting, learn from each creation, and let every design be a testament to your unique vision. The possibilities are endless, and your next masterpiece is just a cut away. Happy crafting!